How to Add Members
- Please ensure that the member you want to add has registered a PicSee account.
- Click on the account avatar in the top right corner and go to "Settings".
- Switch to the "Group Settings" tab on the left to see current members.
- Enter the member's PicSee ID or registered email to add them to the group.
Note: For group member limits, please check our
pricing plans. If you need more group members, please refer to
Can I Purchase PicSee via Bank Transfer? How Are Custom Add-Ons Priced?
How to Remove Members
Ensure you have
admin privileges before proceeding. For details on admin permissions, please refer to
Group co-management.
- Click your profile icon at the top right and go to "Settings".
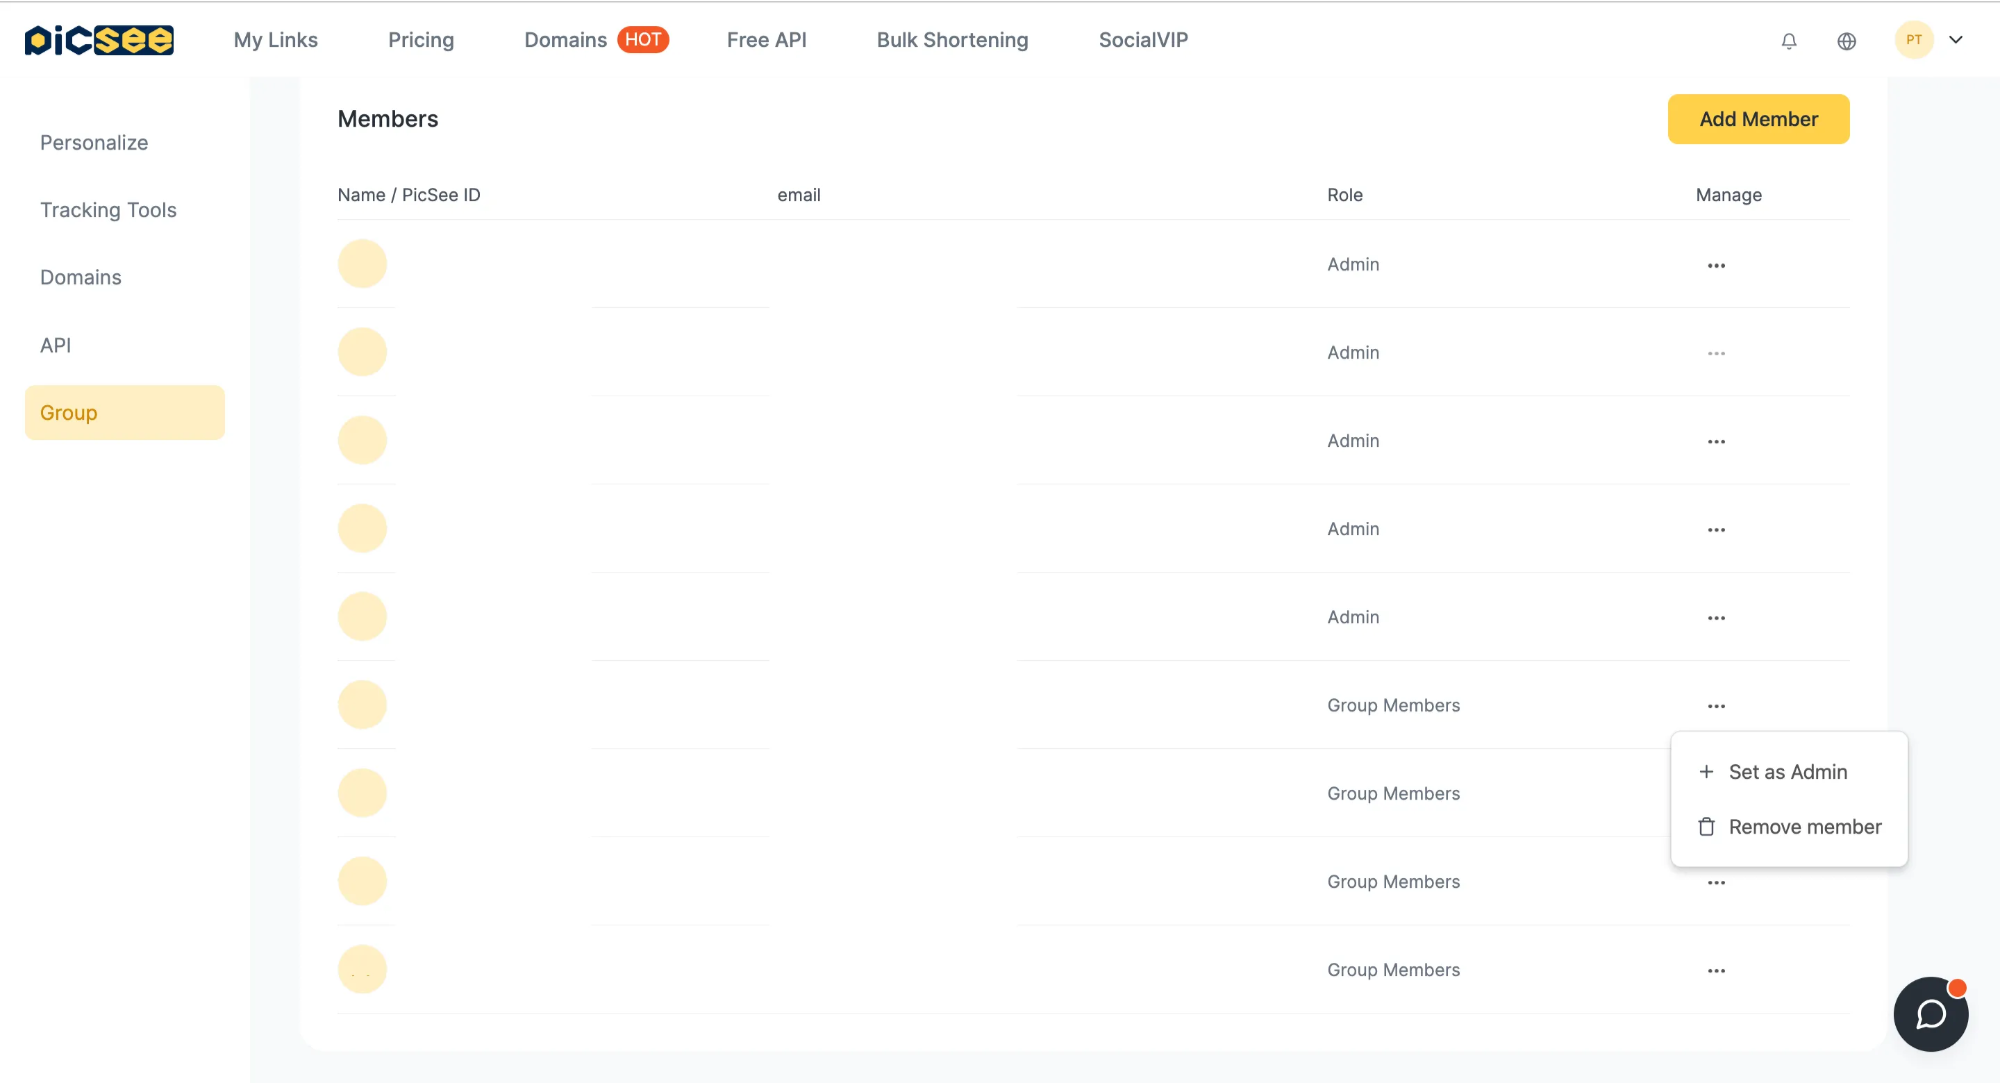
- Navigate to the "Group Settings" tab on the left to view current members.
- To remove regular members: Click "Actions" next to the member's name and select "Remove".
- To remove admins: First, downgrade them to a regular member in the "Actions" menu, then remove them. (This prevents accidental deletions.)
Note: Every user is the admin of their personal account and cannot be removed or have their permissions adjusted. A group must always have at least one admin.
How to Leave a Group
- Click your profile icon at the top right and switch to the group you want to leave.
- Go to "Settings" > "Group Settings".
- In the "Actions" column for your account, select "Leave Group".
Note: Users who created the group cannot leave their personal account.